-News Center-
Troubleshooting 5332638 Fitment Issues After Installation in Heavy Equipment
Troubleshooting 5332638 Fitment Issues After Installation in Heavy Equipment
After installing 5332638 on heavy equipment, fitment problems can quickly lead to downtime, abnormal wear, and repeated service calls. For after-sales maintenance teams, identifying the root cause early is essential to protect machine performance and customer trust. This guide outlines practical troubleshooting steps, common installation mistakes, and key inspection points to help you resolve 5332638 fitment issues efficiently and prevent the same problem from returning.
Start with the symptom, not the part label
One mistake that shows up often in field service is assuming every 5332638 complaint is a part defect. In practice, the symptom tells you more than the carton does. If the issue is bolt misalignment, that points you in a different direction than seal pinch, housing interference, or unusual movement after torque-down.
Before removing anything again, note exactly what happened during installation:
- Did 5332638 stop short before full seating?
- Did it install fully but bind once the machine ran?
- Were bolts forced into place by leverage or cross-tightening?
- Did the old part come out cleanly, or was there evidence of distortion and uneven wear?
That record matters. A part that only fits when forced is already giving you the answer: stop and verify the interface. Do not let the machine “wear it in.” On heavy equipment, that usually turns a fitment issue into a secondary failure.
Check the basics that get skipped under time pressure
Most repeat service calls come from ordinary misses, not exotic causes. After-sales teams know this, but tight schedules still push people to jump ahead.
- Confirm the machine serial number and arrangement reference against the service documentation available on site. A model match alone is not enough.
- Compare the removed part and 5332638 side by side. Look at mounting face shape, hole pattern, depth, offset, flange thickness, connector orientation, and any indexing features.
- Inspect packaging and supplier traceability. If the label is unclear, damaged, or inconsistent, treat the part as questionable until verified.
- Check whether old shims, spacers, sleeves, locator pins, or gasket material were left behind in the assembly.
That last point causes more trouble than people admit. A thin layer of old gasket, rust scale, or burrs around a locating shoulder can make 5332638 look dimensionally wrong when the real problem is on the machine side.
Inspect the mounting area like it failed once already
If a component was removed after a breakdown, do not assume the receiving area stayed true. Distorted brackets, worn bores, elongated holes, and impact damage can all create false fitment complaints.
- Run a straightedge across mounting faces if the design allows it.
- Look for paint buildup, corrosion, weld repair, or field modification around the interface.
- Check dowel locations and threaded holes for deformation.
- Verify that mating components move freely before reinstalling the new part.
If you are servicing older fleets, especially machines that have changed hands or worked in remote jobsites, be cautious. Unrecorded repair history is common. We have seen fitment complaints that were really caused by previous line boring, bracket rework, or substituted hardware. Where service history is incomplete, mark dimensions and conditions as 【To Be Verified】 rather than guessing.
Do not ignore hardware and tightening sequence
A correct 5332638 installation can still go wrong if the bolts, washers, studs, or tightening pattern are off. Fitment complaints sometimes start after the part is mounted crooked by uneven pull-down.
Watch for these field signs:
Use the manufacturer’s torque procedure where available. If the site does not have confirmed torque values, stop short of making assumptions. Over-torquing to “pull it home” can damage both the new part and the housing.
Look upstream when the part seems right but the machine still feels wrong
Some fitment complaints are really compatibility problems created by neighboring wear. If 5332638 installs but operating alignment is off, inspect the connected system. Bushings, pins, couplings, brackets, hoses, guards, and surrounding support points can shift the working position enough to create contact, vibration, or leakage.
This is especially relevant in excavator applications where repeated shock loads and dirt intrusion gradually change clearances. On machines such as the CAT Excavator 323 GC, operators value smooth controls and low-cost uptime, so after-sales teams should not close a job just because the part is physically mounted. Run the function, listen for abnormal sound, and recheck contact points after a short operating cycle.
A few installation mistakes show up again and again
These are worth keeping on your own workshop checklist because they lead to the same argument every time: “the part must be wrong.”
- Reusing damaged fasteners because replacements are not immediately available.
- Installing without cleaning the mating face down to bare contact condition.
- Ignoring orientation marks, especially where left/right or front/rear positions are easy to confuse.
- Applying sealant where the design does not call for it, which can change seating depth.
- Mixing old and new associated parts in assemblies that rely on matched wear patterns.
None of those are dramatic. All of them can waste a day.
When to stop troubleshooting and escalate
There is a point where repeated trial fitting stops being useful. Escalate when:
- Measured differences between removed part and 5332638 affect mounting or operating geometry.
- The machine shows signs of prior modification and no reliable service record exists.
- You cannot confirm the part traceability from a trusted supplier channel.
- A second installation attempt produces the same interference point.
At that stage, document the serial number, photos of the mounting interface, hardware used, and where the fitment stops or shifts. Good suppliers can usually help faster when the report is specific. That has been part of TerraMech’s after-sales mindset for years: branded machinery support is only as strong as the accuracy of the field information coming back from service teams.
If you are handling fleets across mixed brands like Caterpillar, Komatsu, Volvo, SEM, Shantui, XCMG, SDLG, Weichai, or SDEC, keep your internal checklist brand-neutral but verification-heavy. The workflow is the same even when the hardware details change.
What saves time on the next job
For recurring 5332638 service work, the best habit is simple: record the exact cause once you solve it. Not “adjusted and installed.” Write what was actually wrong. Leftover gasket. Bent bracket. Wrong bolt length. Serial mismatch. Unverified prior repair.
That kind of note cuts diagnosis time the next time the same issue appears on a similar machine, whether it is a standard excavator or a durable, fuel-conscious platform like the CAT Excavator 323 GC. In after-sales maintenance, that is usually the difference between one visit and three.
If 5332638 does not sit naturally, do not force the result. Verify the machine, the mating parts, the hardware, and the installation record in that order. That sequence solves more fitment problems than guesswork ever will.
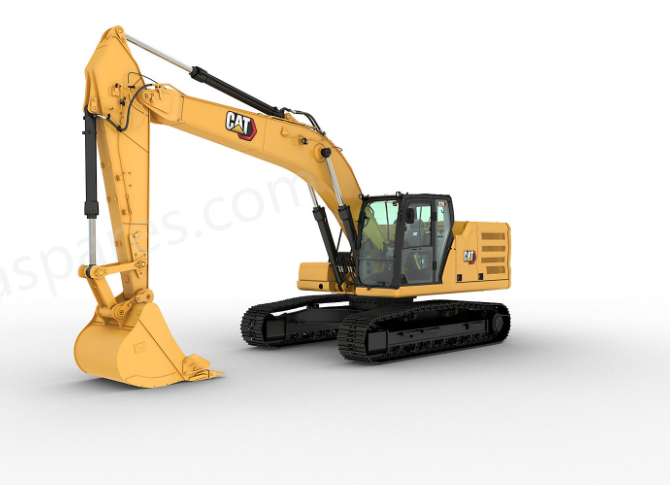
 CAT Excavator 326Premium Performance with Simple-to-Use Technologies
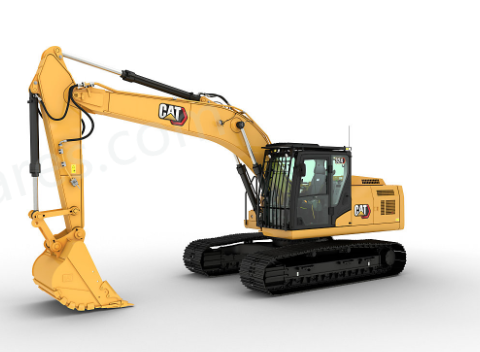
The Cat® 326 Excavator brings premium performance with simple-to-use technologies to boost your operator efficiencies. Combine these features with an ergonomic cab, longer maintenance intervals, and a power system that reduces fuel and you have a low-cost-per-unit-of-production excavator that’s perfect for medium to heavy-duty applications. CAT Excavator 324Heavy-Duty Muscle Built to Outperform
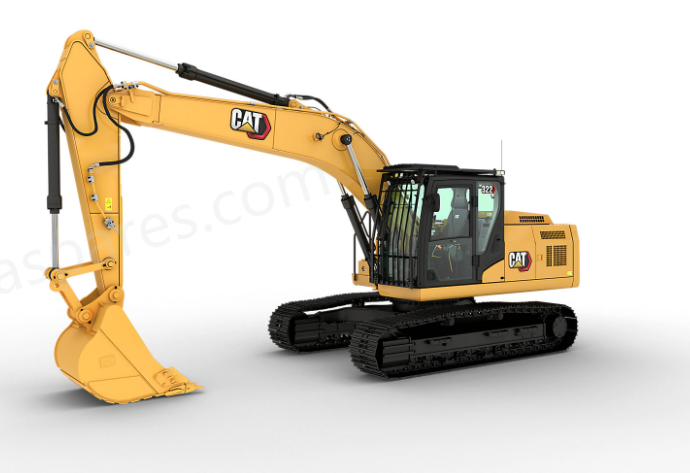
The Cat® 324 excavator is built to handle high-production workloads with the perfect balance of brute strength and refined control. Its powerful Cat® C7.1 engine, high-flow hydraulics, and advanced electrohydraulic system give you the muscle to move heavy material fast, without burning through your budget. With reinforced structures, field-proven durability, and easy-to-maintain components, the 324 is your go-to solution for tackling tough jobs with less downtime. CAT Excavator 322Profit-Driven Powerhouse for Heavy Loads
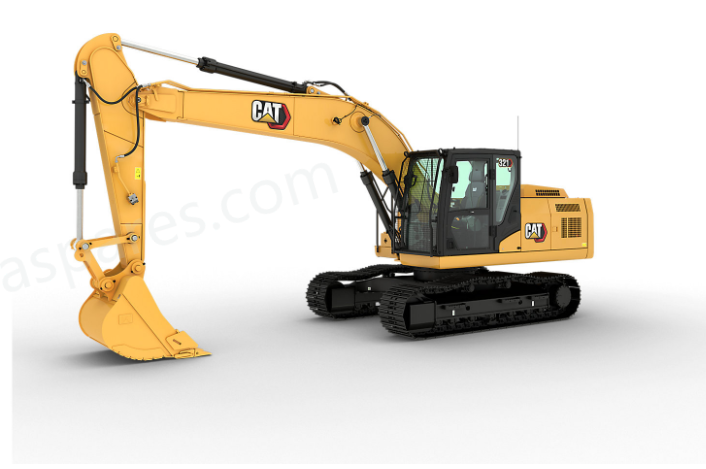
When you need muscle, precision, and cost control in one machine, the Cat® 322 excavator delivers. Purpose-built for high production, the 322 pairs fast cycle times with large bucket options to move more material in fewer passes. Its responsive electrohydraulic controls and rugged design keep you productive on the tough jobs, while smart fuel efficiency and streamlined maintenance help you stay profitable every step of the way. Whether you’re loading, trenching, or lifting, the 322 is a heavy-duty workhorse that pays you back. CAT Excavator 321Versatility at the Lowest Cost Per Hour
Powered by the reliable Cat® C3.6 engine, the Cat® 321 excavator delivers high torque and fast cycle times to maximize productivity. Reinforced Cat structures extend machine life and withstand the toughest conditions, while the latest cab design puts operator safety and comfort first. Every core system undergoes rigorous testing, so you can count on consistent, reliable performance shift after shift.